Nowadays, when we talk about occasional events like parties, and especially weddings here in Malaysia (we don't really organize big birthday parties here, though, some did), photo-booth instantly come into our minds. People loves taking photos of everything now and who would want to miss such moments, weddings of family members, daughters, sons, best friends and of course of their own weddings. Whenever we go to a wedding ceremonies or even seeing others' photos on our FB wall, we can see a lot of photo-booth shots.
Photo-booth is a place where people poses for fun and have their photographs taken by a cameraman or we can simply do selcas (I used to this term more than the 'selfie' term). Some weddings, they prepared at least one photo-booth but some just use the bridal bed for photographs session for the guests. Originally, this is the photo-booth (see below, captioned with 'photo-booth). The one which we usually see in western movies. Isn't nice? I love it, and then your taken photos will instantly come out in strips and you can keep them in your wallet or paste them on your mirror.
 |
| Photo-booth |
In wedding events, we call it 'photo-booth' as well but not the real photo-booth is used as shown above but I don't really know why we haven't come up with another name, but I think this is fine too, it works the same way but only difference is that you have to print the photos back at home yourself. 'Photo-corner' might as well work, just a thought.
First things first~
Firstly, we need to pick a theme. This is easy, just go for the wedding's theme. But, you can always be creative and wild and be bold, but still take into consideration with the whole wedding's theme so it will blend very nicely. So, let say I pick a purple as the colour theme. Then, you might want to check for various colour combinations.
Secondly, what we need in a photo-booth is a backdrop of your choice is important because we want a clean, nice-looking background, so there will be less interruptions of random strangers captured in our photos as well. Also, having a nice, pretty backgrounds will make us feel like we are in a photo shoot session and sometimes we even feel like we are in a studio. Your photos will come out more clean and organized. If it is indoor, pick a wall (good for a support too) so it will be easier for us to hang some stuffs or simply to paste something. For a backdrop, we can hang some cloths, like curtains or paste any deco directly on the plain walls. Be creative.
Then, the most interesting part is the
embellishment! Have the desired photo-booth illusion in our mind and make it alive! We can always draw them in a paper first for others to see. Do not fuzz over on using expensive materials. Cheap stuffs are always the best for this. It is you that can make them look expensive. Use your creativity and browse on DIY stuffs on the internet for inspirations. Decide on what to put or what to hang and etc.
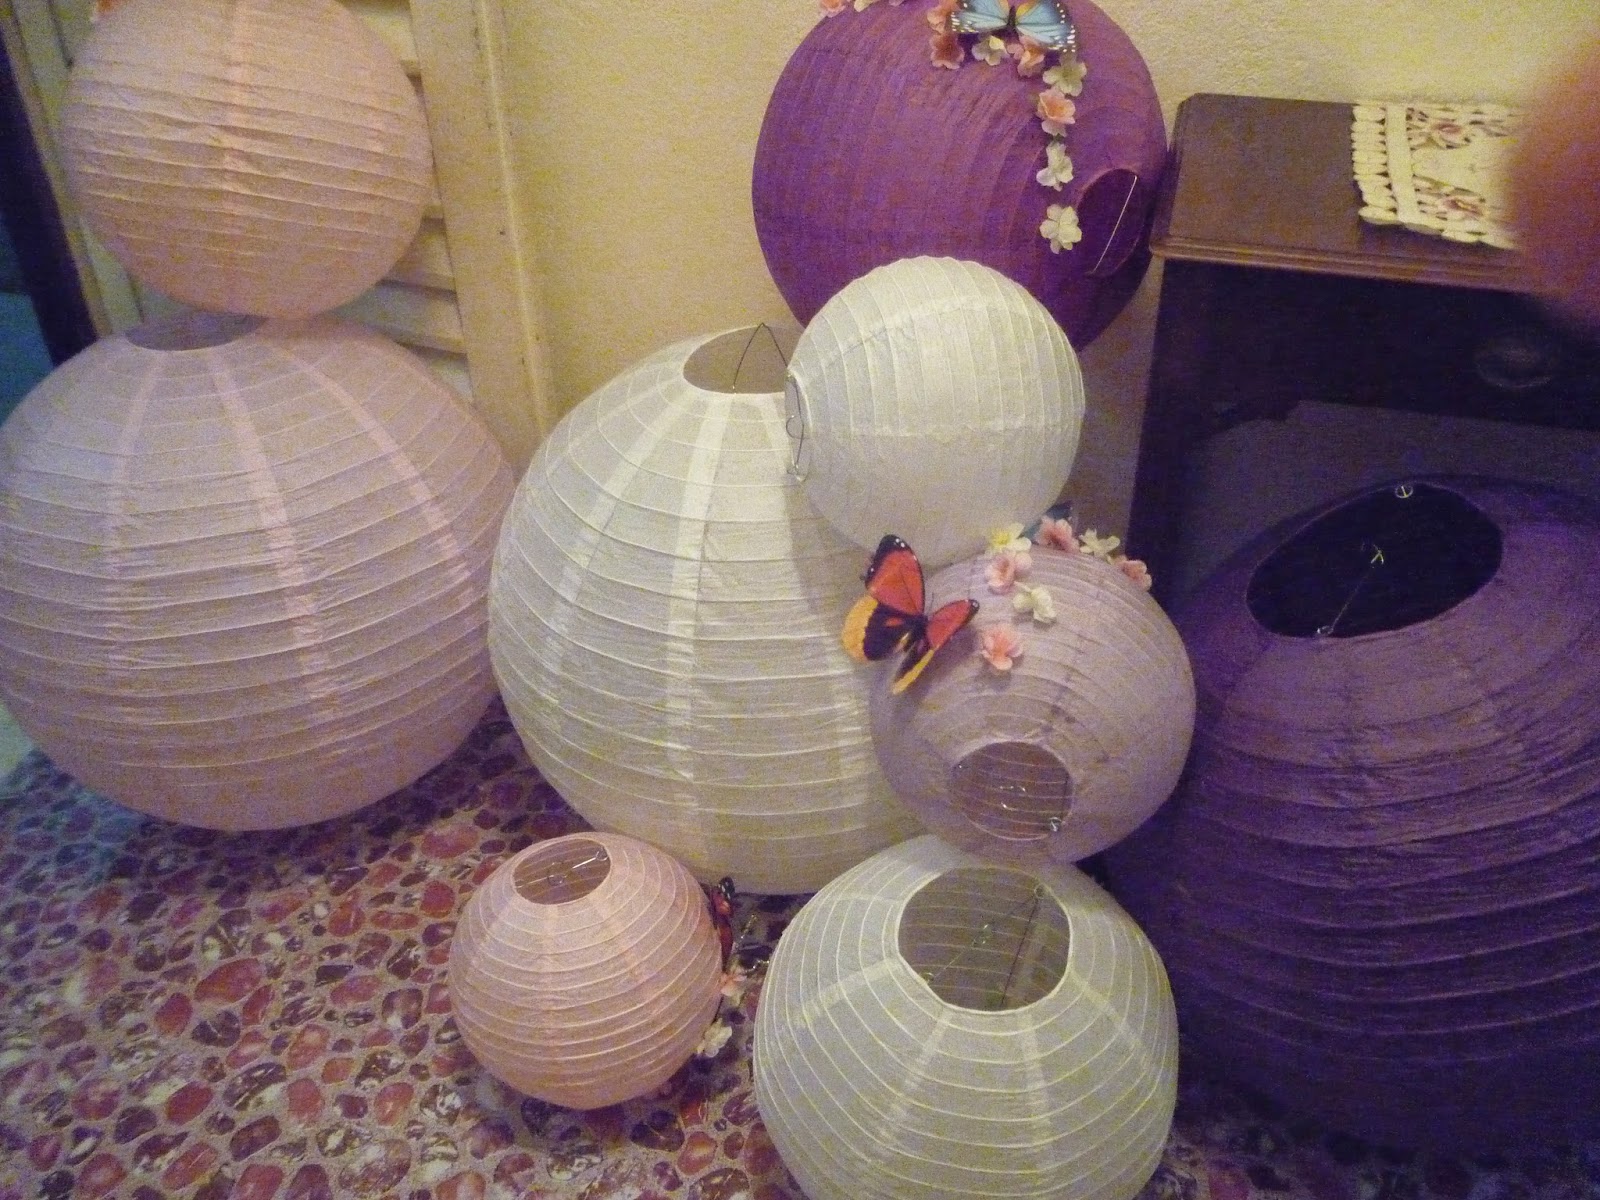 |
| Paper lights |

If seen from the above photo, it has a purple colour combo as the theme! A wall is used for the photo-booth and a curtain rail is installed to the ceiling so curtains can be hung from there. A white wooden bench is placed in the middle of the set. (you may ignore the bunga telur there) Balls of paper lights and of different sizes are used. In each of the lights, butterflies and sakura plant are glued to them. White fabric divider is set at the side of the set and green grass-like carpet is used for the floor (I wish it would be bigger than that :) ) And this photo was taken from wider perspective so I can show you the set as a whole. You can see many fans down there!
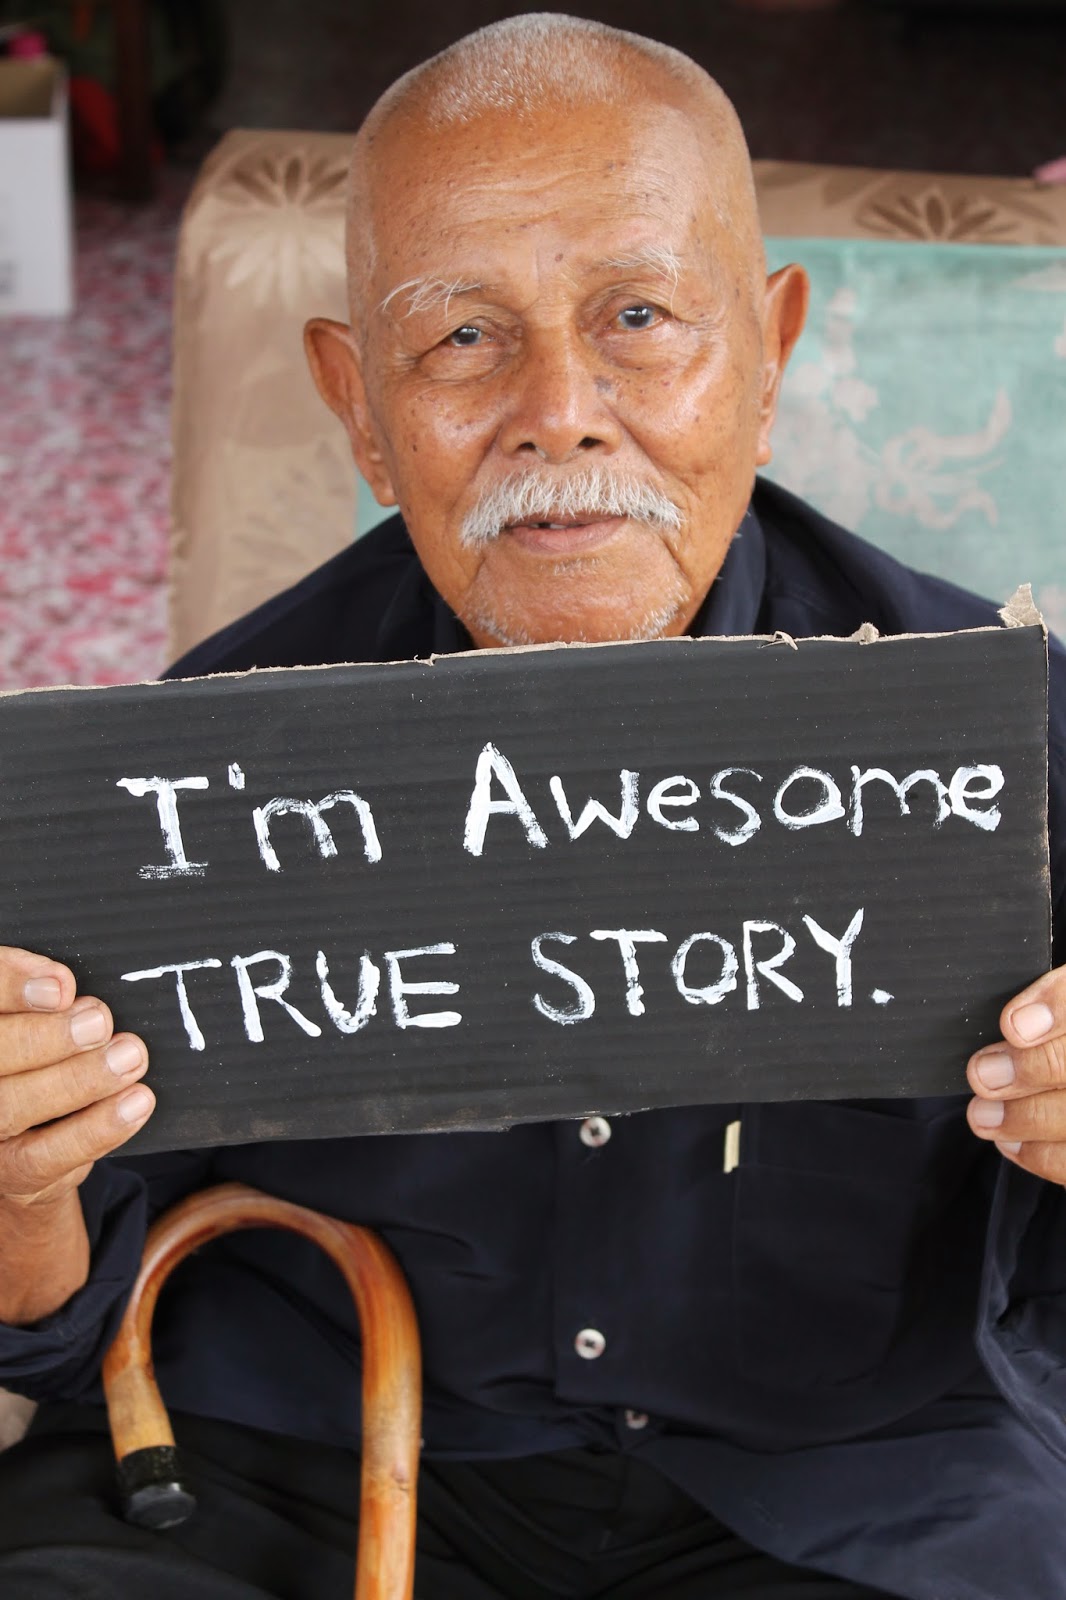
Then, the props! This is the most fun part! Hahaha! Props can be either funny faces cut out on a stick, cool phrases painted on small signboards, cool hats and etc. I'd prefer to use only signboards with cool and funny phrases on them. I prefer less on the funny faces stuffs because our faces will be distracted and yeah I cannot see the pretty faces.
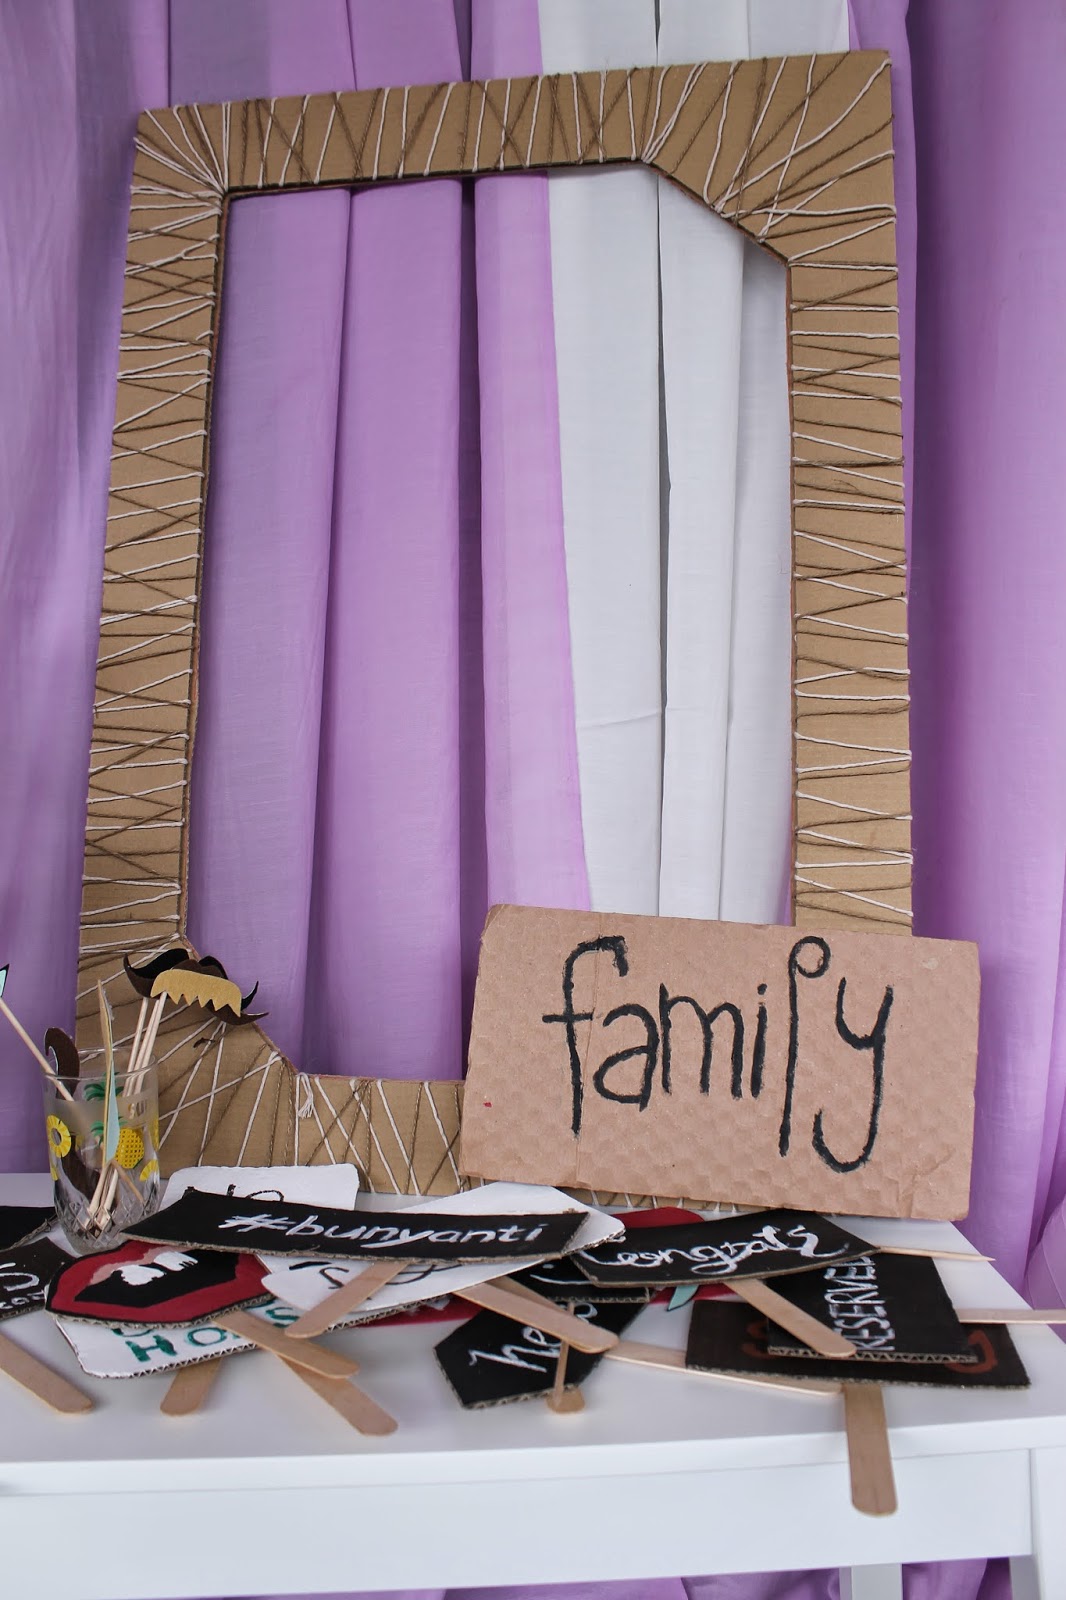 |
| the signs! |
Some cannot be seen from here, I made these with my cousins and sister. We used cardboard box cards for these and wide ice cream sticks as the handles. We did some moustaches too, though and they are made from polyester felt. The frame is made of two same sized cardboard and tied randomly and aggressively with two types of string, one is rough textured and the other softer and then glued with another cardboard so it would be tougher. Some were also cut out from leftover boxes and we used mural and acrylic paints to write phrase on them.
Finally, we need people! Make sure to capture the images within the set and with proper lighting you will create nice and decent photos!
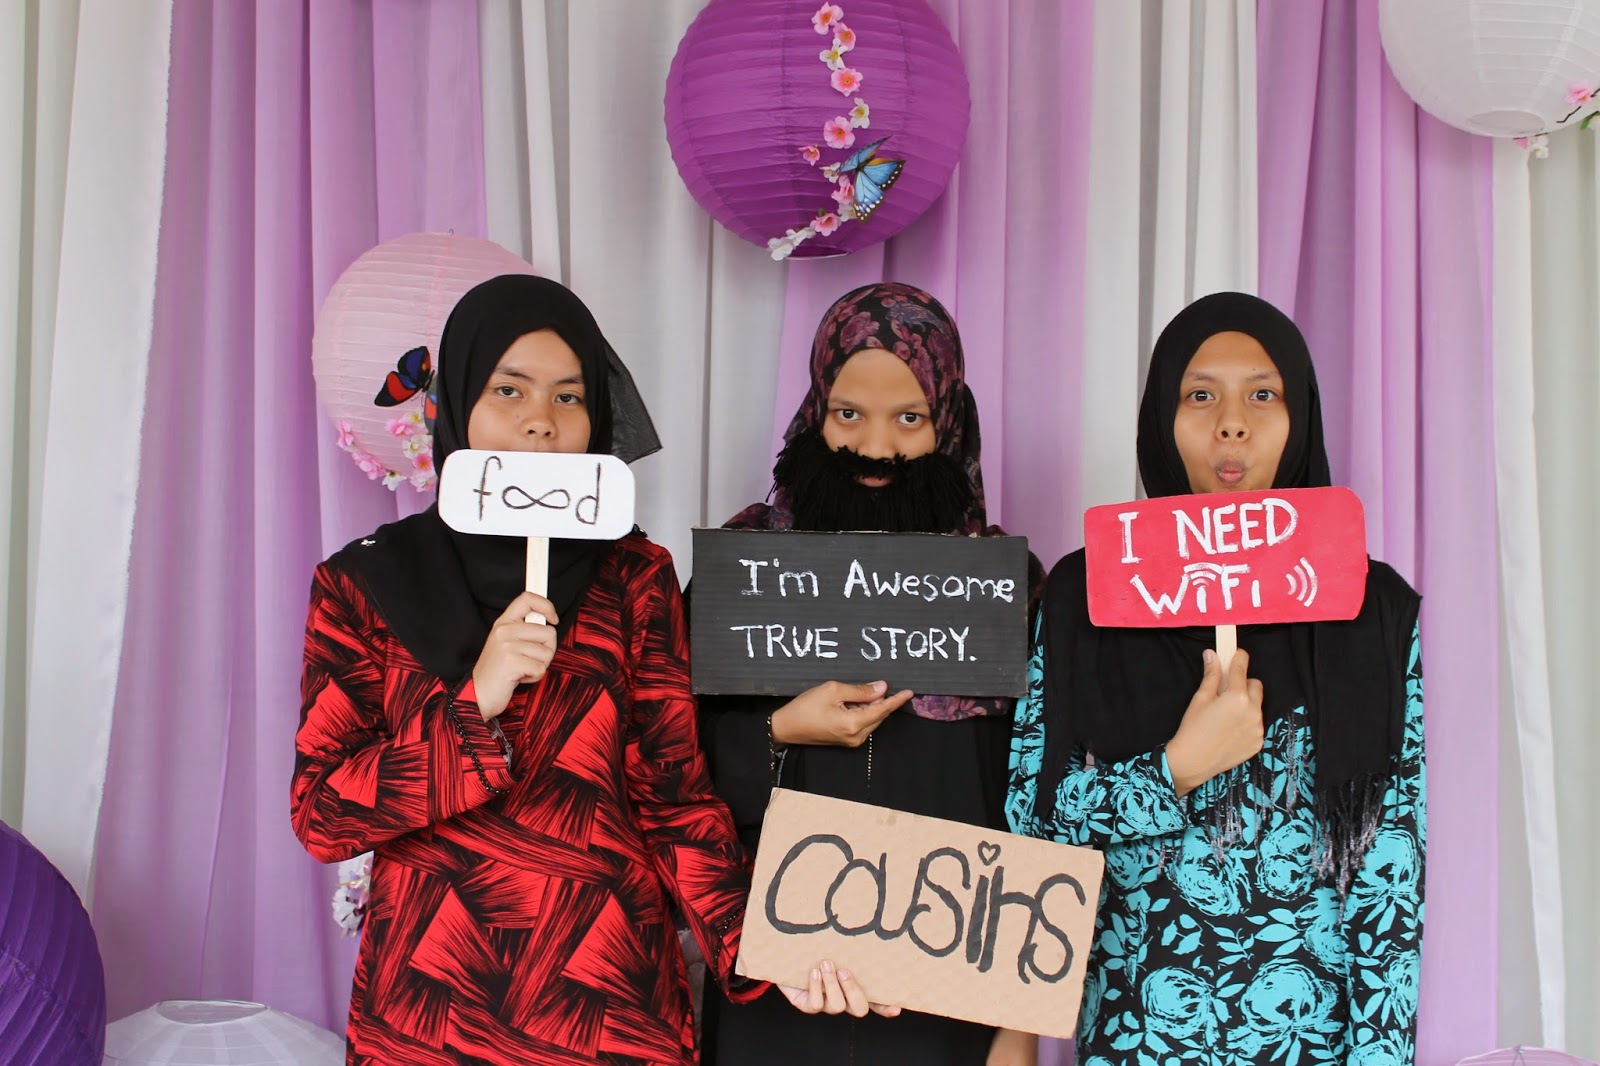 |
| Group shot |
 |
| Family potrait |
 |
| Closer group shot |
 |
| Head shot with prop |
 |
| Head shot without prop |
 |
| whole body shot |
 |
| We can also use only the prop & without the backdrop |
Toddlers will make a great scene out of this
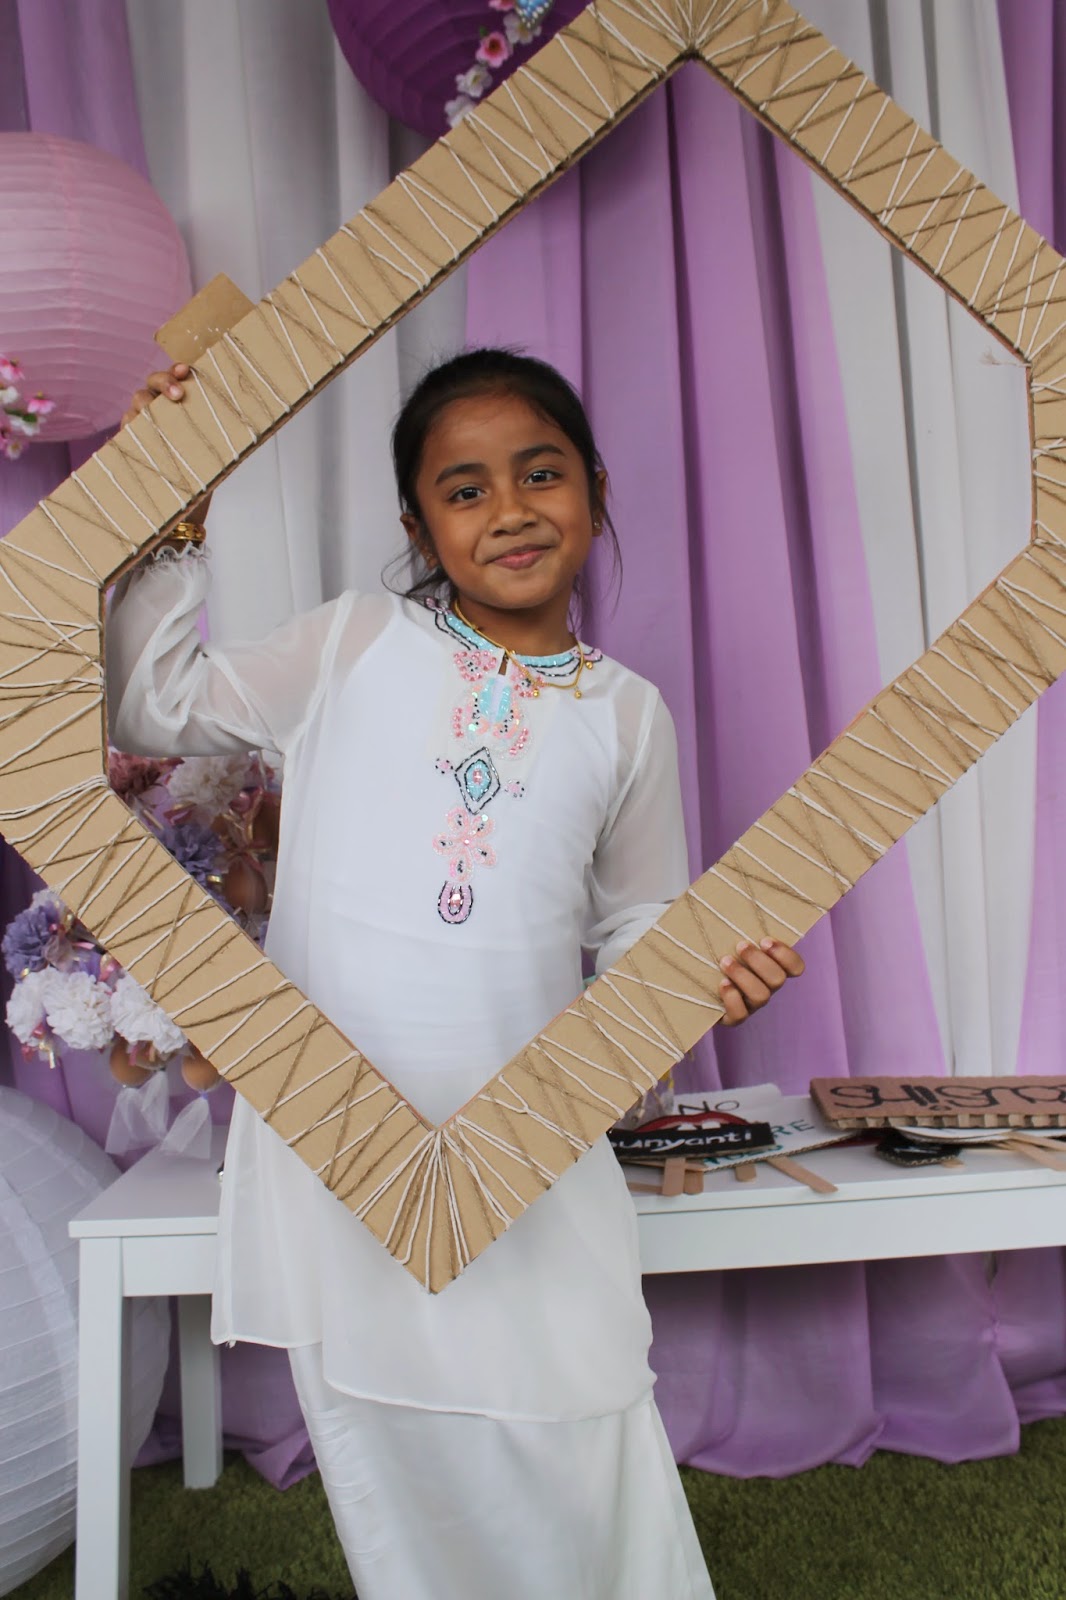 |
| With frame |
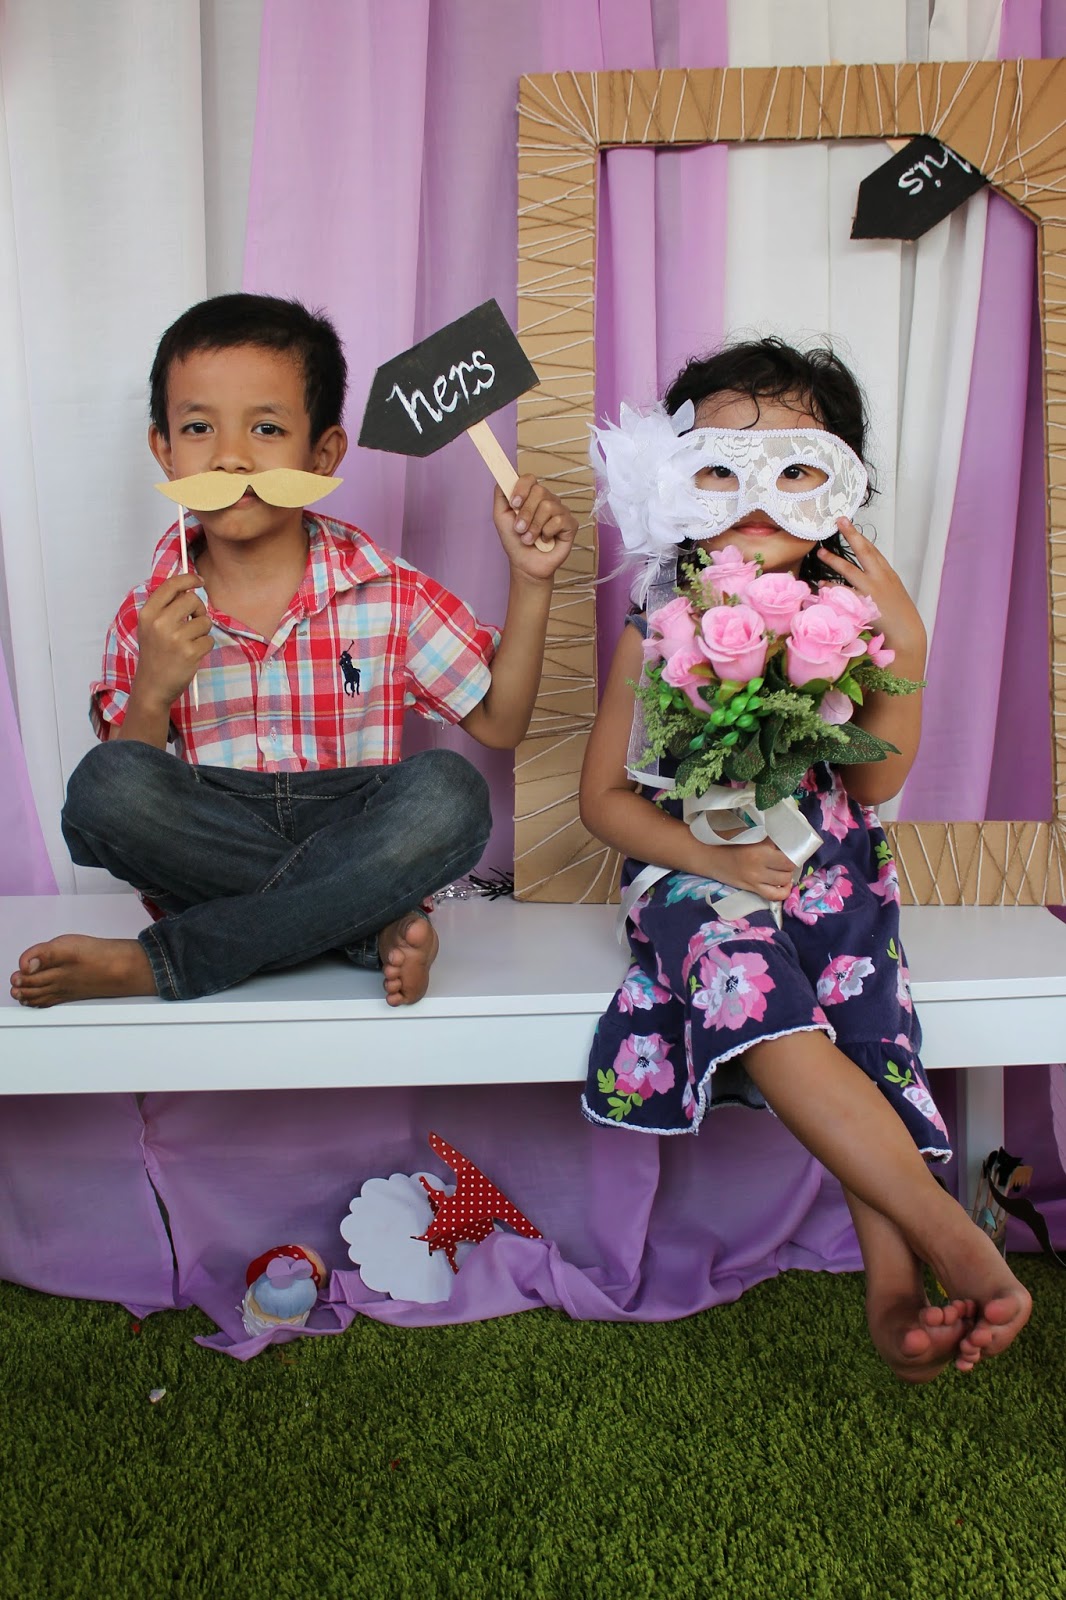 |
| Kids with props |
 |
| The whole photo-booth@photo-corner set |
Photos are from my private collection.